Create Custom Playlists in Windows Media Player 12
Posted
by DigitalGeekery
on How to geek
See other posts from How to geek
or by DigitalGeekery
Published on Fri, 14 May 2010 18:00:00 +0000
Indexed on
2010/05/14
18:15 UTC
Read the original article
Hit count: 469
A playlist is a group of songs or media files that are grouped together based on a theme. Today we’ll look at how to create your own custom playlists in Windows Media Player 12.
Create Custom Playlists
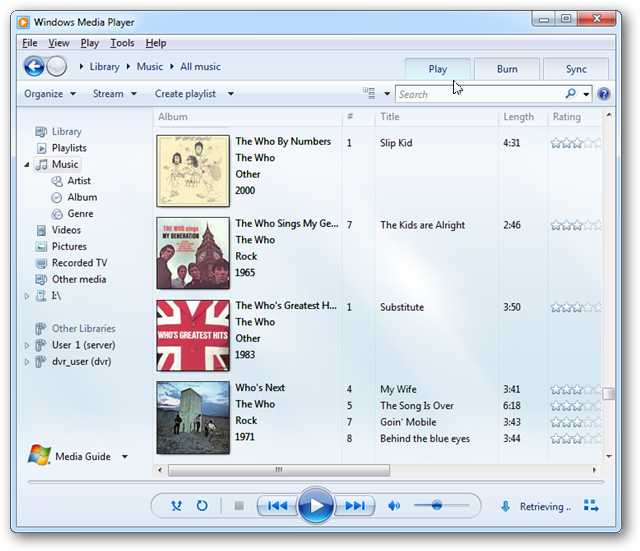
Open Windows Media Player and switch to the Library view. Click on the Play tab at the top right to reveal the List pane.

If you currently have songs listed on the List pane, you can remove them by clicking Clear list.

To add songs to your playlist, right-click on the song title, select Add to, and then click Play list.

You can also drag and drop the song title right onto the play list area. Hold down the Control [Ctrl] key while clicking to select more than one track at a time.

Changing the Playlist Order
You can click and drag each item in your playlist to move it up or down.

You can also right click on the title and select Move up or Move down, or to completely remove a track from your playlist.

You have the option to shuffle your list by clicking the Options list icon and selecting Shuffle list from the dropdown list.

By selecting Sort list by you can sort by Title, Artist, Album, Release date, and more.

Saving and naming your playlist
To save your playlist, click on the Save list button.

You’ll be prompted to enter a name for your playlist in the text box. Click away when you are finished.

Windows Media Player will display your most recent playlists in the Navigation panel.

Simply select the playlist anytime you want to listen to it.

Conclusion
Custom playlists are a great way to group your music by themes such as mood, genre, activity, season, and more.
If you are new to Windows Media Player 12, check out our post on managing your music in Windows Media Player.
| Similar Articles | Productive Geek Tips |
|
|
| Latest Software Reviews | Tinyhacker Random Tips |
© How to geek or respective owner
