Reverse-engineer SharePoint fields, content types and list instance—Part2
Posted
by ybbest
on YBBest
See other posts from YBBest
or by ybbest
Published on Sat, 04 Jun 2011 12:01:17 +0000
Indexed on
2011/06/20
16:40 UTC
Read the original article
Hit count: 1231
SharePoint 2010
|SharePoint Tools
Reverse-engineer SharePoint fields, content types and list instance—Part1
Reverse-engineer SharePoint fields, content types and list instance—Part2
In the part1 of this series, I demonstrated how to use VS2010 to Reverse-engineer SharePoint fields, content types and list instances. In the part 2 of this series, I will demonstrate how to do the same using CKS:Dev. CKS:Dev extends the Visual Studio 2010 SharePoint project system with advanced templates and tools. Using these extensions you will be able to find relevant information from your SharePoint environments without leaving Visual Studio. You will have greater productivity while developing SharePoint components and you will have greater deployment capabilities on your local SharePoint installation.
You can download the complete solution here.
1. First, download and install appropriate CKS:Dev from CodePlex.
If you are using SharePoint Foundation 2010 then download and install the SharePoint Foundation 2010 version
If you are using SharePoint Server 2010 then download and install the SharePoint Server 2010 version
2. After installation, you need to restart your visual studio and create empty SharePoint.
3. Go to Viewà Server Explorer

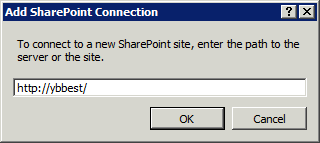
4. Add SharePoint web application connection to the server explorer.


5. After add the connection, you can browse to see the contents for the Web Application.

6. Go to Site Columns à YBBEST (Custom Group of you own choice) and right-click the YBBEST Folder and Click Import Site Columns.

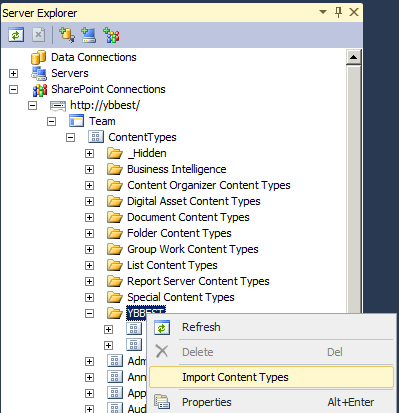
7. Go to ContentTypesà YBBEST (Custom Group of you own choice) and right-click the YBBEST Folder and Click Import Content Types.

8. After the import completes, you can find the fields and contentTypes in the SharePoint project below. Of course you need to do some modification to your current project to make it work.

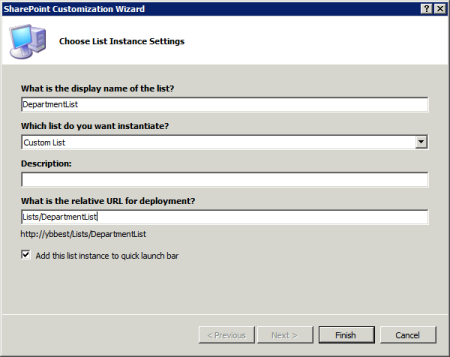
9. Next, create list instances using list instance item template in Visual Studio

10. Finally, create lookup columns using the feature receivers and the final project will look like this.

You can download the complete solution here.
© YBBest or respective owner